Virtual Box allows you to run multiple operating systems on your computer without having to reboot or partition your hard drive. You can use Virtual Box to test new software, experiment with different settings, or learn new skills without affecting your main system. Here’s how you install Virtual Box on windows 11.
You will need to choose the Windows hosts option, which will download an executable file that you can run to install the software. Follow the instructions on the screen and accept the default settings, unless you have a specific reason to change them. You may need to restart your computer after the installation is complete.
Step 2 – Create a virtual machine
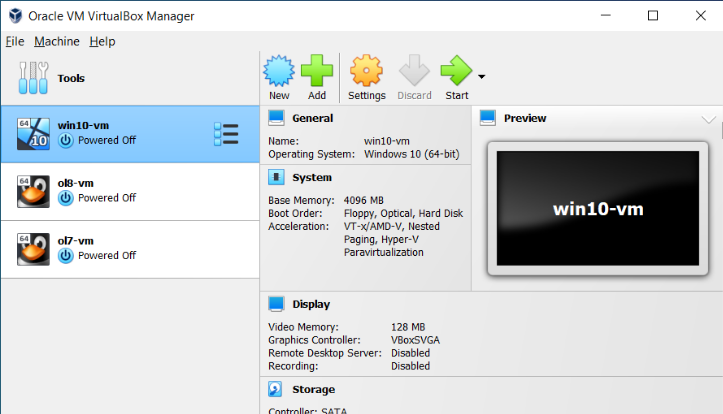
Once you have installed Virtual Box, you can launch it from the Start menu or the desktop shortcut. You will see a window with a toolbar and a list of existing virtual machines, if any. To create a new virtual machine, click on the New button on the toolbar. You will be asked to enter a name for your virtual machine, choose an operating system type and version, and allocate some memory and disk space for it. You can adjust these settings according to your needs and preferences, but make sure you have enough resources available on your host system. Click on Create to finish the process.
Step 3 – Configure your virtual machine
After creating your virtual machine, you can customize its settings by clicking on the Settings button on the toolbar. You will see a window with various tabs that let you change different aspects of your virtual machine, such as network, display, storage, audio, etc. You can explore these options and modify them as you wish, but some of the most important ones are:
– Network: This tab allows you to configure how your virtual machine connects to the internet and other devices on your network. You can choose between different modes, such as NAT (which shares your host’s IP address), Bridged (which gives your virtual machine its own IP address), or Host-only (which isolates your virtual machine from the network). You can also enable or disable adapters, change MAC addresses, or add port forwarding rules.
– Storage: This tab allows you to manage the disks and optical drives that are attached to your virtual machine. You can add or remove hard disks, CD/DVD drives, or floppy drives, as well as change their format, size, location, or encryption. You can also mount or unmount ISO files or physical disks as virtual media.
– Display: This tab allows you to adjust the graphics settings of your virtual machine, such as video memory, scale factor, acceleration, or monitor count. You can also enable or disable 3D and 2D acceleration, which can improve the performance and appearance of some applications.
– Shared folders: This tab allows you to share folders between your host system and your virtual machine, which can make it easier to transfer files or access data. You can add or remove shared folders, as well as change their name, path, or access mode.
Step 4 – Start your virtual machine
Once you have configured your virtual machine to your liking, you can start it by clicking on the Start button on the toolbar. You will see a window that shows the boot process of your virtual machine, which may take some time depending on your settings and hardware. If everything goes well, you should see the desktop or login screen of your guest operating system. You can then use it as if it were a real computer, installing software, browsing the web, or doing anything else you want.
Step 5 – Manage your virtual machine
While your virtual machine is running, you can use the toolbar buttons or menu options to perform various actions on it, such as: – Pause: This pauses the execution of your virtual machine, which can save CPU and battery resources when you are not using it.
– Reset: This restarts your virtual machine from scratch, which can be useful if it becomes unresponsive or crashes.
– Save: This saves the current state of your virtual machine to a file, which allows you to resume it later from where you left off.
– Snapshot: This creates a snapshot of your virtual machine at a specific point in time, which allows you to restore it later if something goes wrong.
– Clone: This creates a copy of your virtual machine with all its settings and data, which allows you to run multiple instances of it or share it with others.
– Power off: This shuts down your virtual machine gracefully, which is recommended before closing Virtual Box or turning off your computer.
Virtual Box is a powerful and versatile tool that lets you run multiple operating systems on your Windows 11 system. We hope you found this guide helpful and informative, and we encourage you to explore the features and options of Virtual Box further.